
mark making
IN A TIGHT SPOT
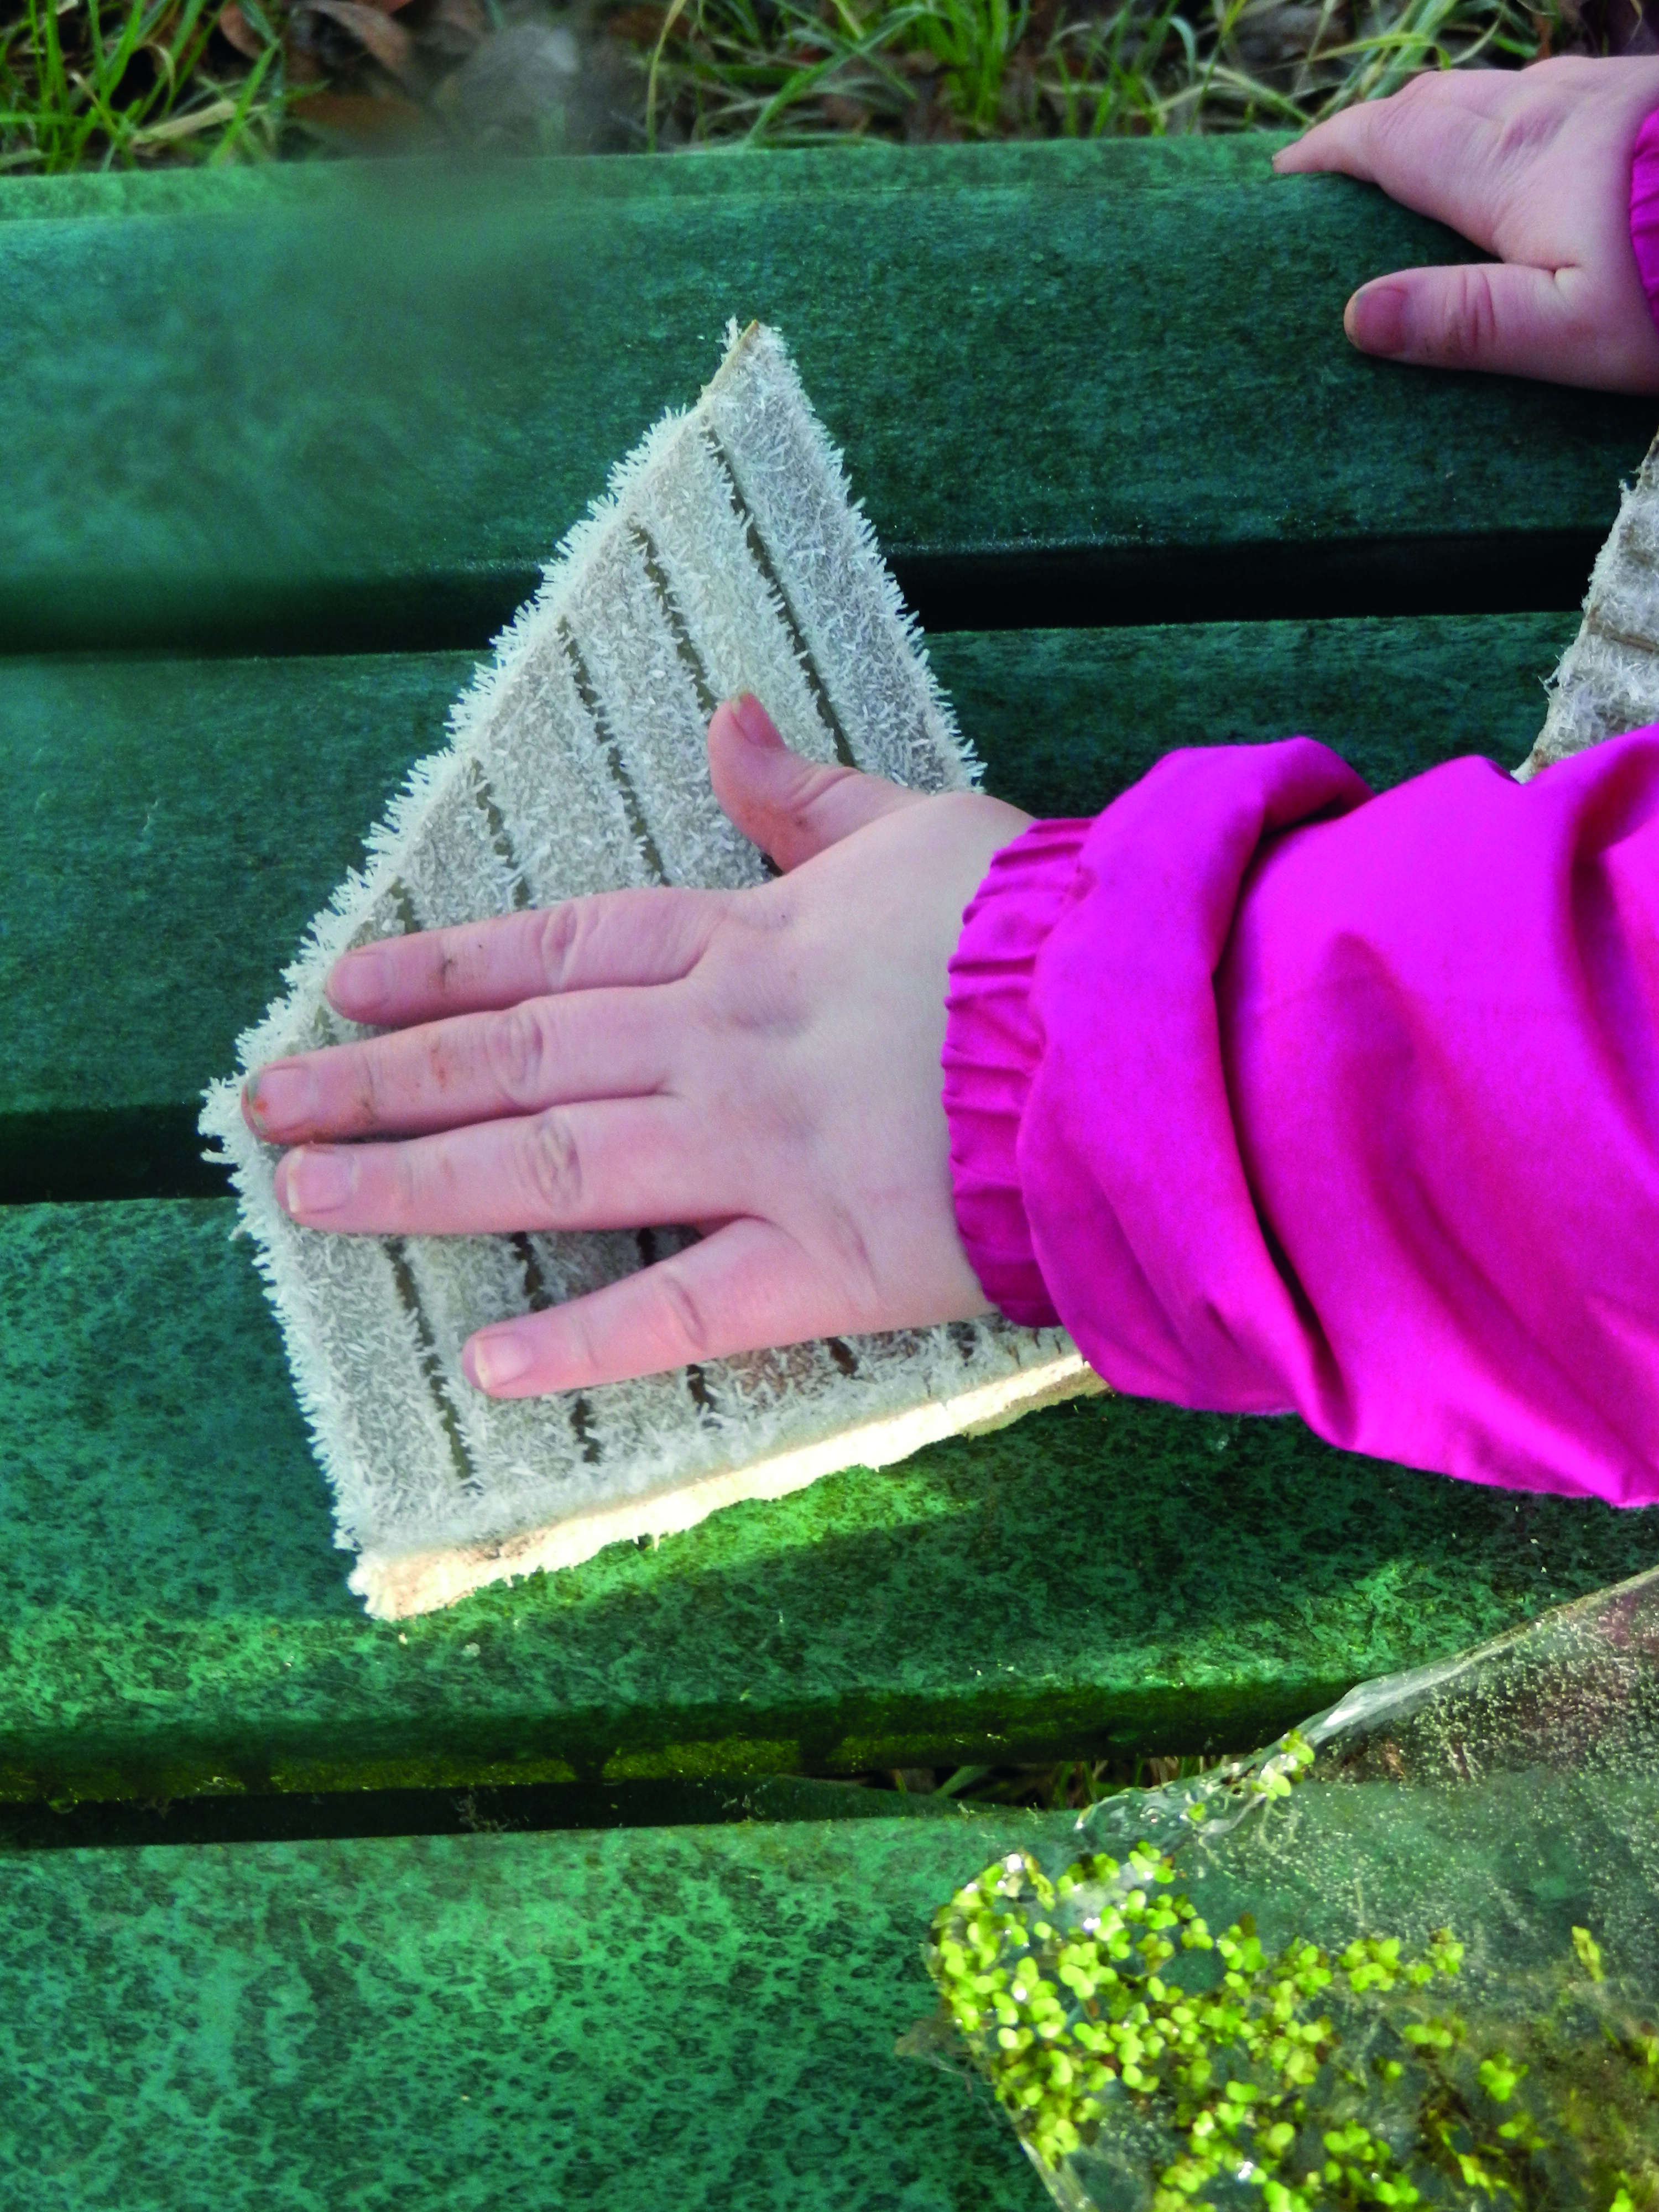 Use your horizontal surfaces for frosty mark making in February, no matter how tiny or how few they are. Plan to start the day outdoors, seeking out those cold spots where a hard overnight frost remains, and don’t just think of using the ground as the canvas – look for ledges, windowsills, walls and fence panels.
- Mark make with twigs, pencils, water in squeezy bottles, a stiff yard brush, rakes or with gloved fingers. Even crisp frosty grass can be used for mark-making – use feet and hands to make large forms and contours. A variety of line thicknesses can be tested with sticks and fingers of varying sizes.
- Create frosty patterns with lines swirling and criss-crossing over one another as if the north wind were speaking to you all – or spiky, jagged lines and shapes, as if Jack Frost himself had drawn them. If children can bear it, hand prints can be made by briefly placing a warm, toasty hand directly onto the frosty surfaces.
February top tips
Some parents and carers will be planting out, moving or repotting bulbs this month – quickly send out a note, text or email asking if they could spare one or two for the setting.
If you don’t have much soil to plant into, most bulbs will happily thrive in large patio-style pots.
natural learning
Predict and map the weather during February with a quick and easy DIY weather station. You’ll need an outdoor thermometer, a measuring jug and some streamers made from lightweight fabric or ribbon. On a large sheet of paper, make a dated chart with a box for every day children will be at the setting, then divide each box in half. One half is for the children’s predictions for that day’s weather and the other half is to record the actual weather.
- Identify a location for the thermometer and measuring jug where they won’t be ‘borrowed’ for play, and where the measuring jug can collect rainwater – you may need to Blu-tak its base down to prevent it blowing over in high winds.
- Tie two narrow strips of lightweight fabric or ribbon to a long, thin stick and tie the stick to a fence post, piece of play equipment or other place where the ribbons will blow freely in the wind.
- Talk to the children about today’s weather. How would they describe it? What do they think it will be like tomorrow? Write their predictions in one of the daily boxes, perhaps using diagrams instead of or as well as words. Repeat the next day, starting by comparing children’s predictions with the actual weather.
- Check rainfall by examining how much water has collected in the measuring jug, record the temperature (ideally at the same time each day) and observe how the ribbons are fluttering – are they flying out horizontally? Flapping about in blustery winds? Or perhaps barely moving at all?
winter season
WINTER STEM SPRINGBOARDS
- These springboards are all about helping children make comparisons – try to introduce or emphasise comparatives such as ‘-er’ and ‘-est’.
- Print out and examine an illustrated Beaufort Scale diagram that uses trees as its examples – there are lots on Pinterest and online. Go outdoors and look for trees – can children estimate a number for today’s wind speed, using the scale? Are there any parts of the body that could measure wind force and direction? Clue: loose long hair!
- If you are lucky enough to experience snow during February, experiment with melting rates by creating snowballs of different sizes. Try to make at least ten snowballs – from a tiny one that would fit in a child’s palm, through to the largest you can with the snow you have. Leave them in a place they can sit undisturbed, if possible. Discussion prompts: Will all the snowballs melt at the same time? Will it take minutes, hours, days for them to melt? What difference does a warm day or a cold day make?
- Explore road gritters with the children – look at pictures or films of them at work and discuss what the grit is for. Now collect a few handfuls of road grit from a salt bin, storing the grit securely away from children. On an afternoon when you expect a heavy overnight frost (or snow), go out with a group of children and choose a spot to experiment with the road grit. Sprinkle some, leaving an adjacent patch clear. The next day, compare the gritted and ungritted areas.
active stories
 There are dozens of ‘Jack Frost’ themed storybooks, many of which will be available from the local library or via secondhand bookselling sites. I really love the magical blue and white illustrations in Here Comes Jack Frost by Kazuno Kohara, but use whatever you can find and take the story outdoors, encouraging children to act out your story’s characters.
- For example – how would Jack Frost move? Does he glide (like ice), swirl like the wind, or does he make jerky movements (like spiky icicles)? Make sounds to suggest ice cracking underfoot, whirling frosty winds, slowly melting ice and sparkling stars in the wintry night sky.
- If you can source old cotton white sheets (try a charity shop or ask for donations), rip them up into makeshift capes for your Jack Frosts to wear as their mystical frosty fingers sprinkle diamonds all over the garden.
- Are there any areas that Jack Frost can’t reach (e.g. sheltered spots, direct sunlight)?
physical development
WARM-UPS
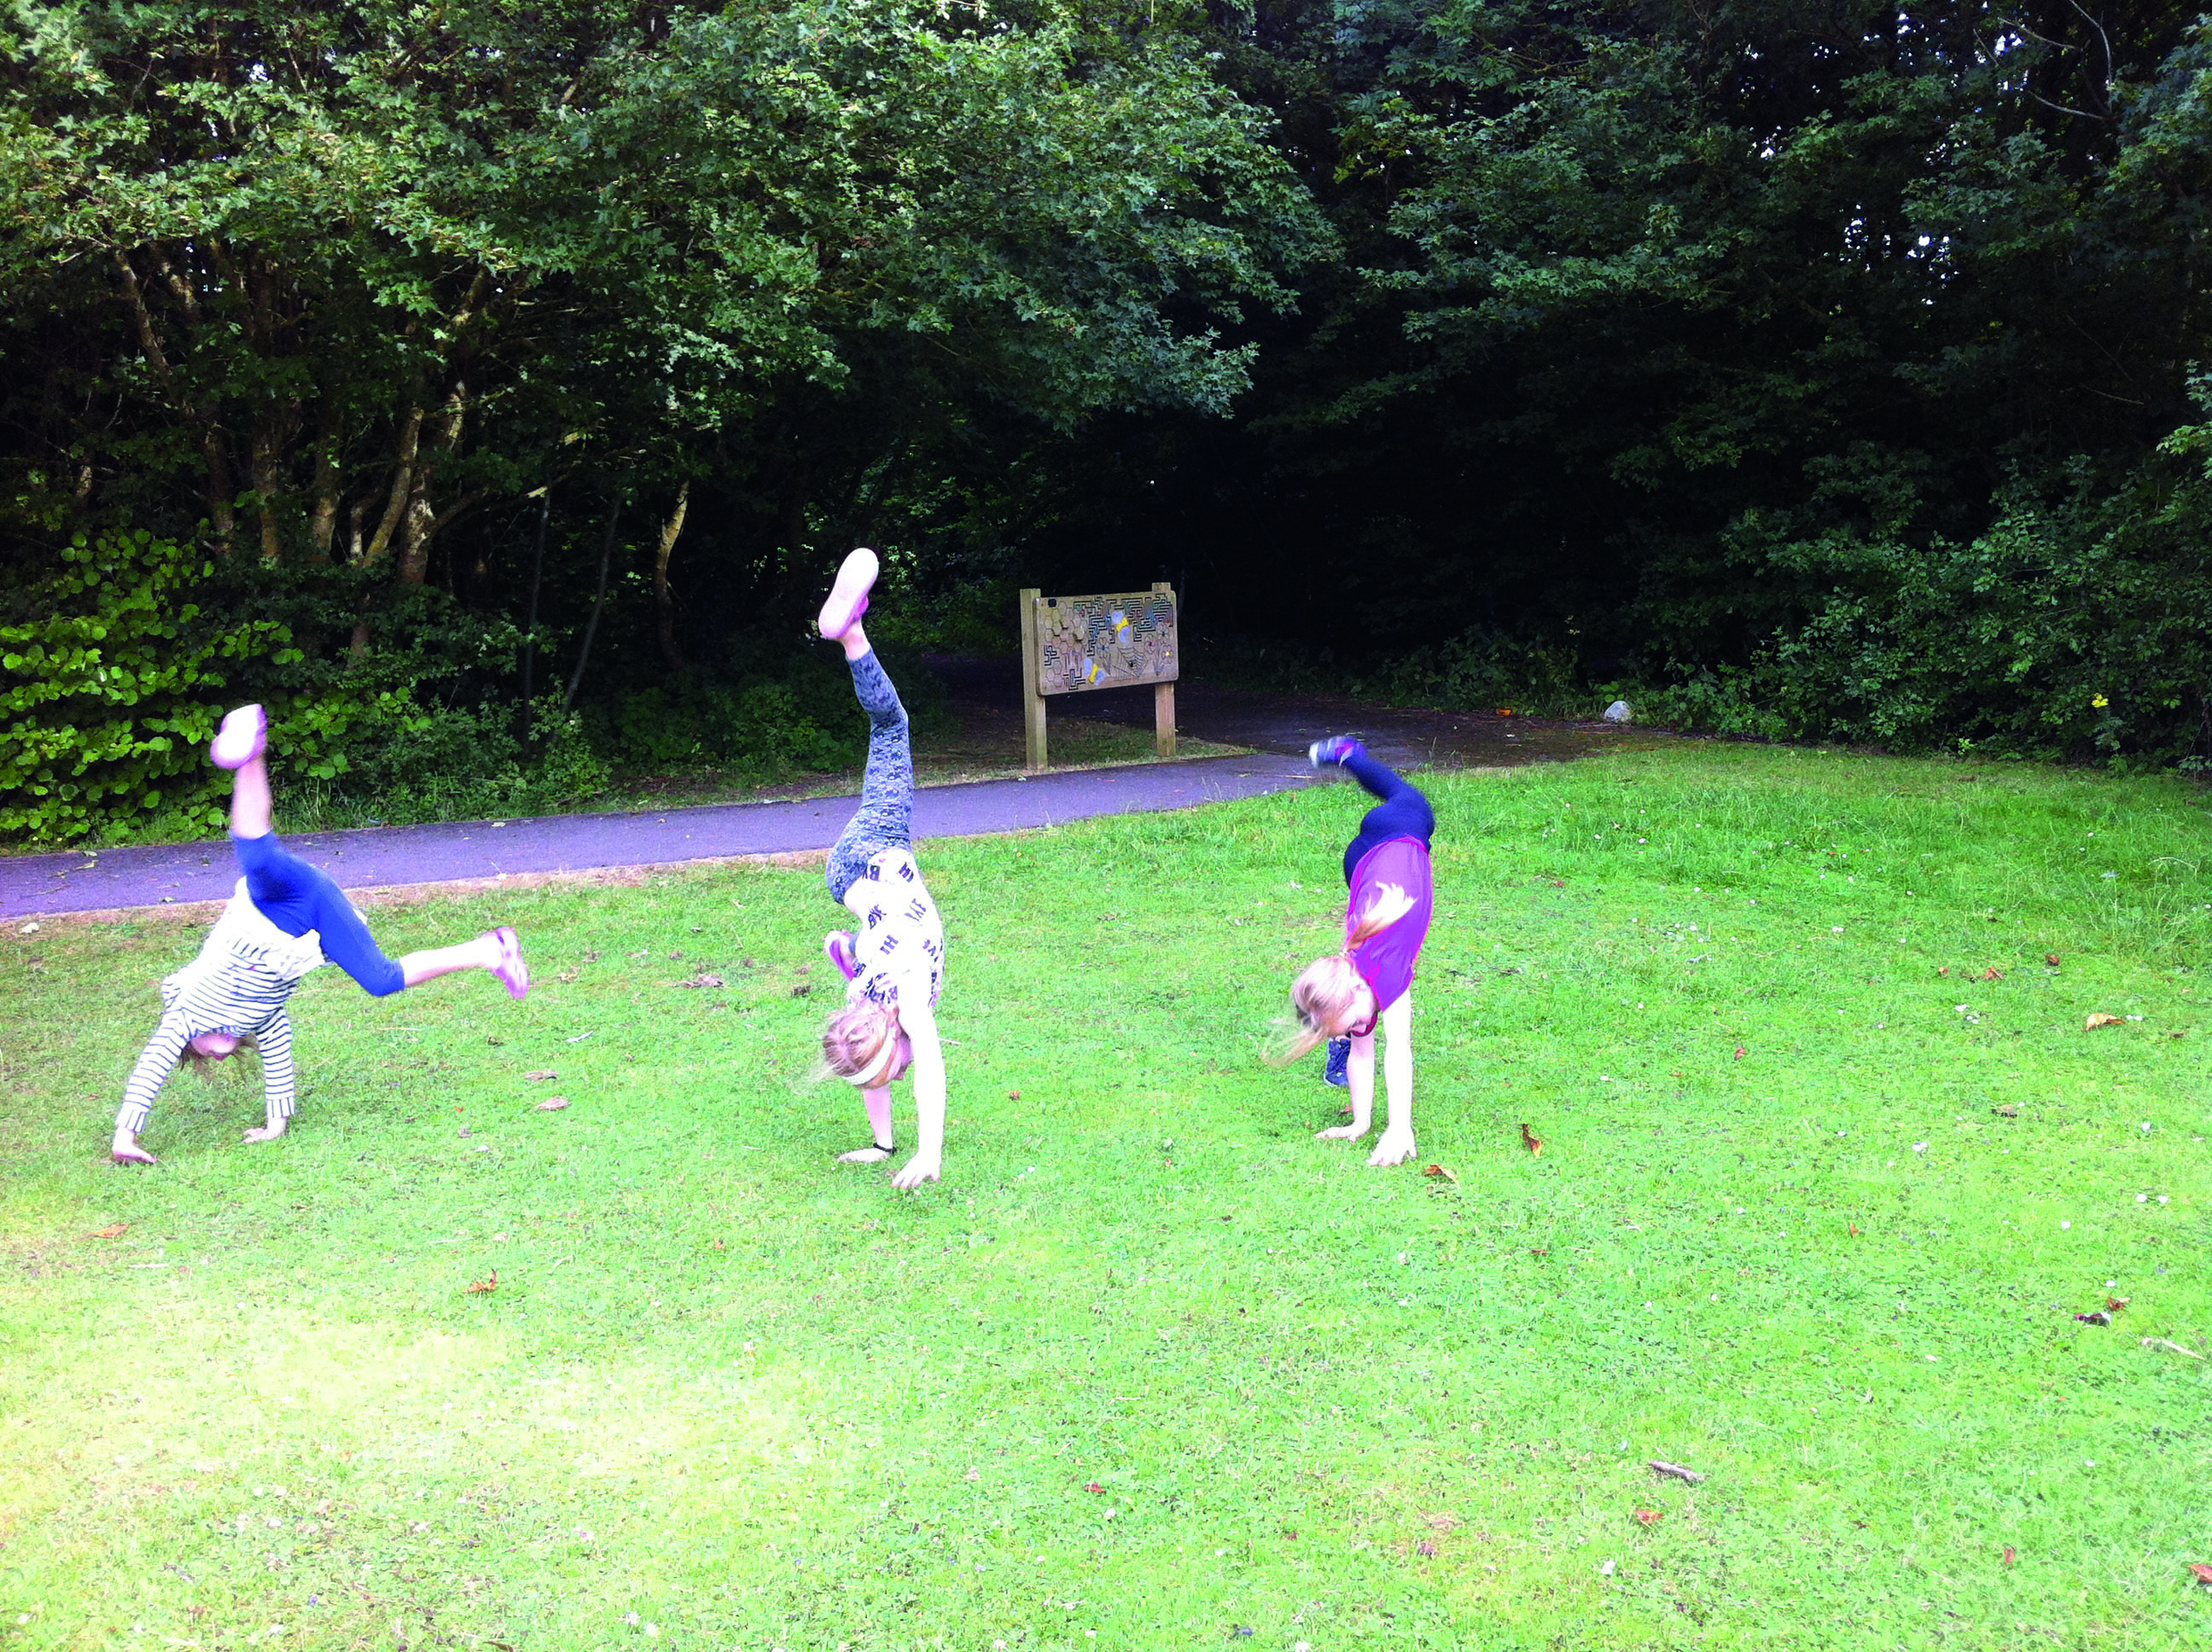
Warming-up is integral to safe and effective vigorous exercise. It’s worth getting into the habit of carrying out warm-up activities outdoors – either formally as a group led by you, or by asking children to carry out small tasks that will limber them up. This can be particularly helpful with children that you know tend to be less physically active than others.
The aim of the warm-up, as its name suggests, is to gently tease, stretch and move muscles and limbs to reduce the likelihood of injury as and when the activity becomes more energetic.
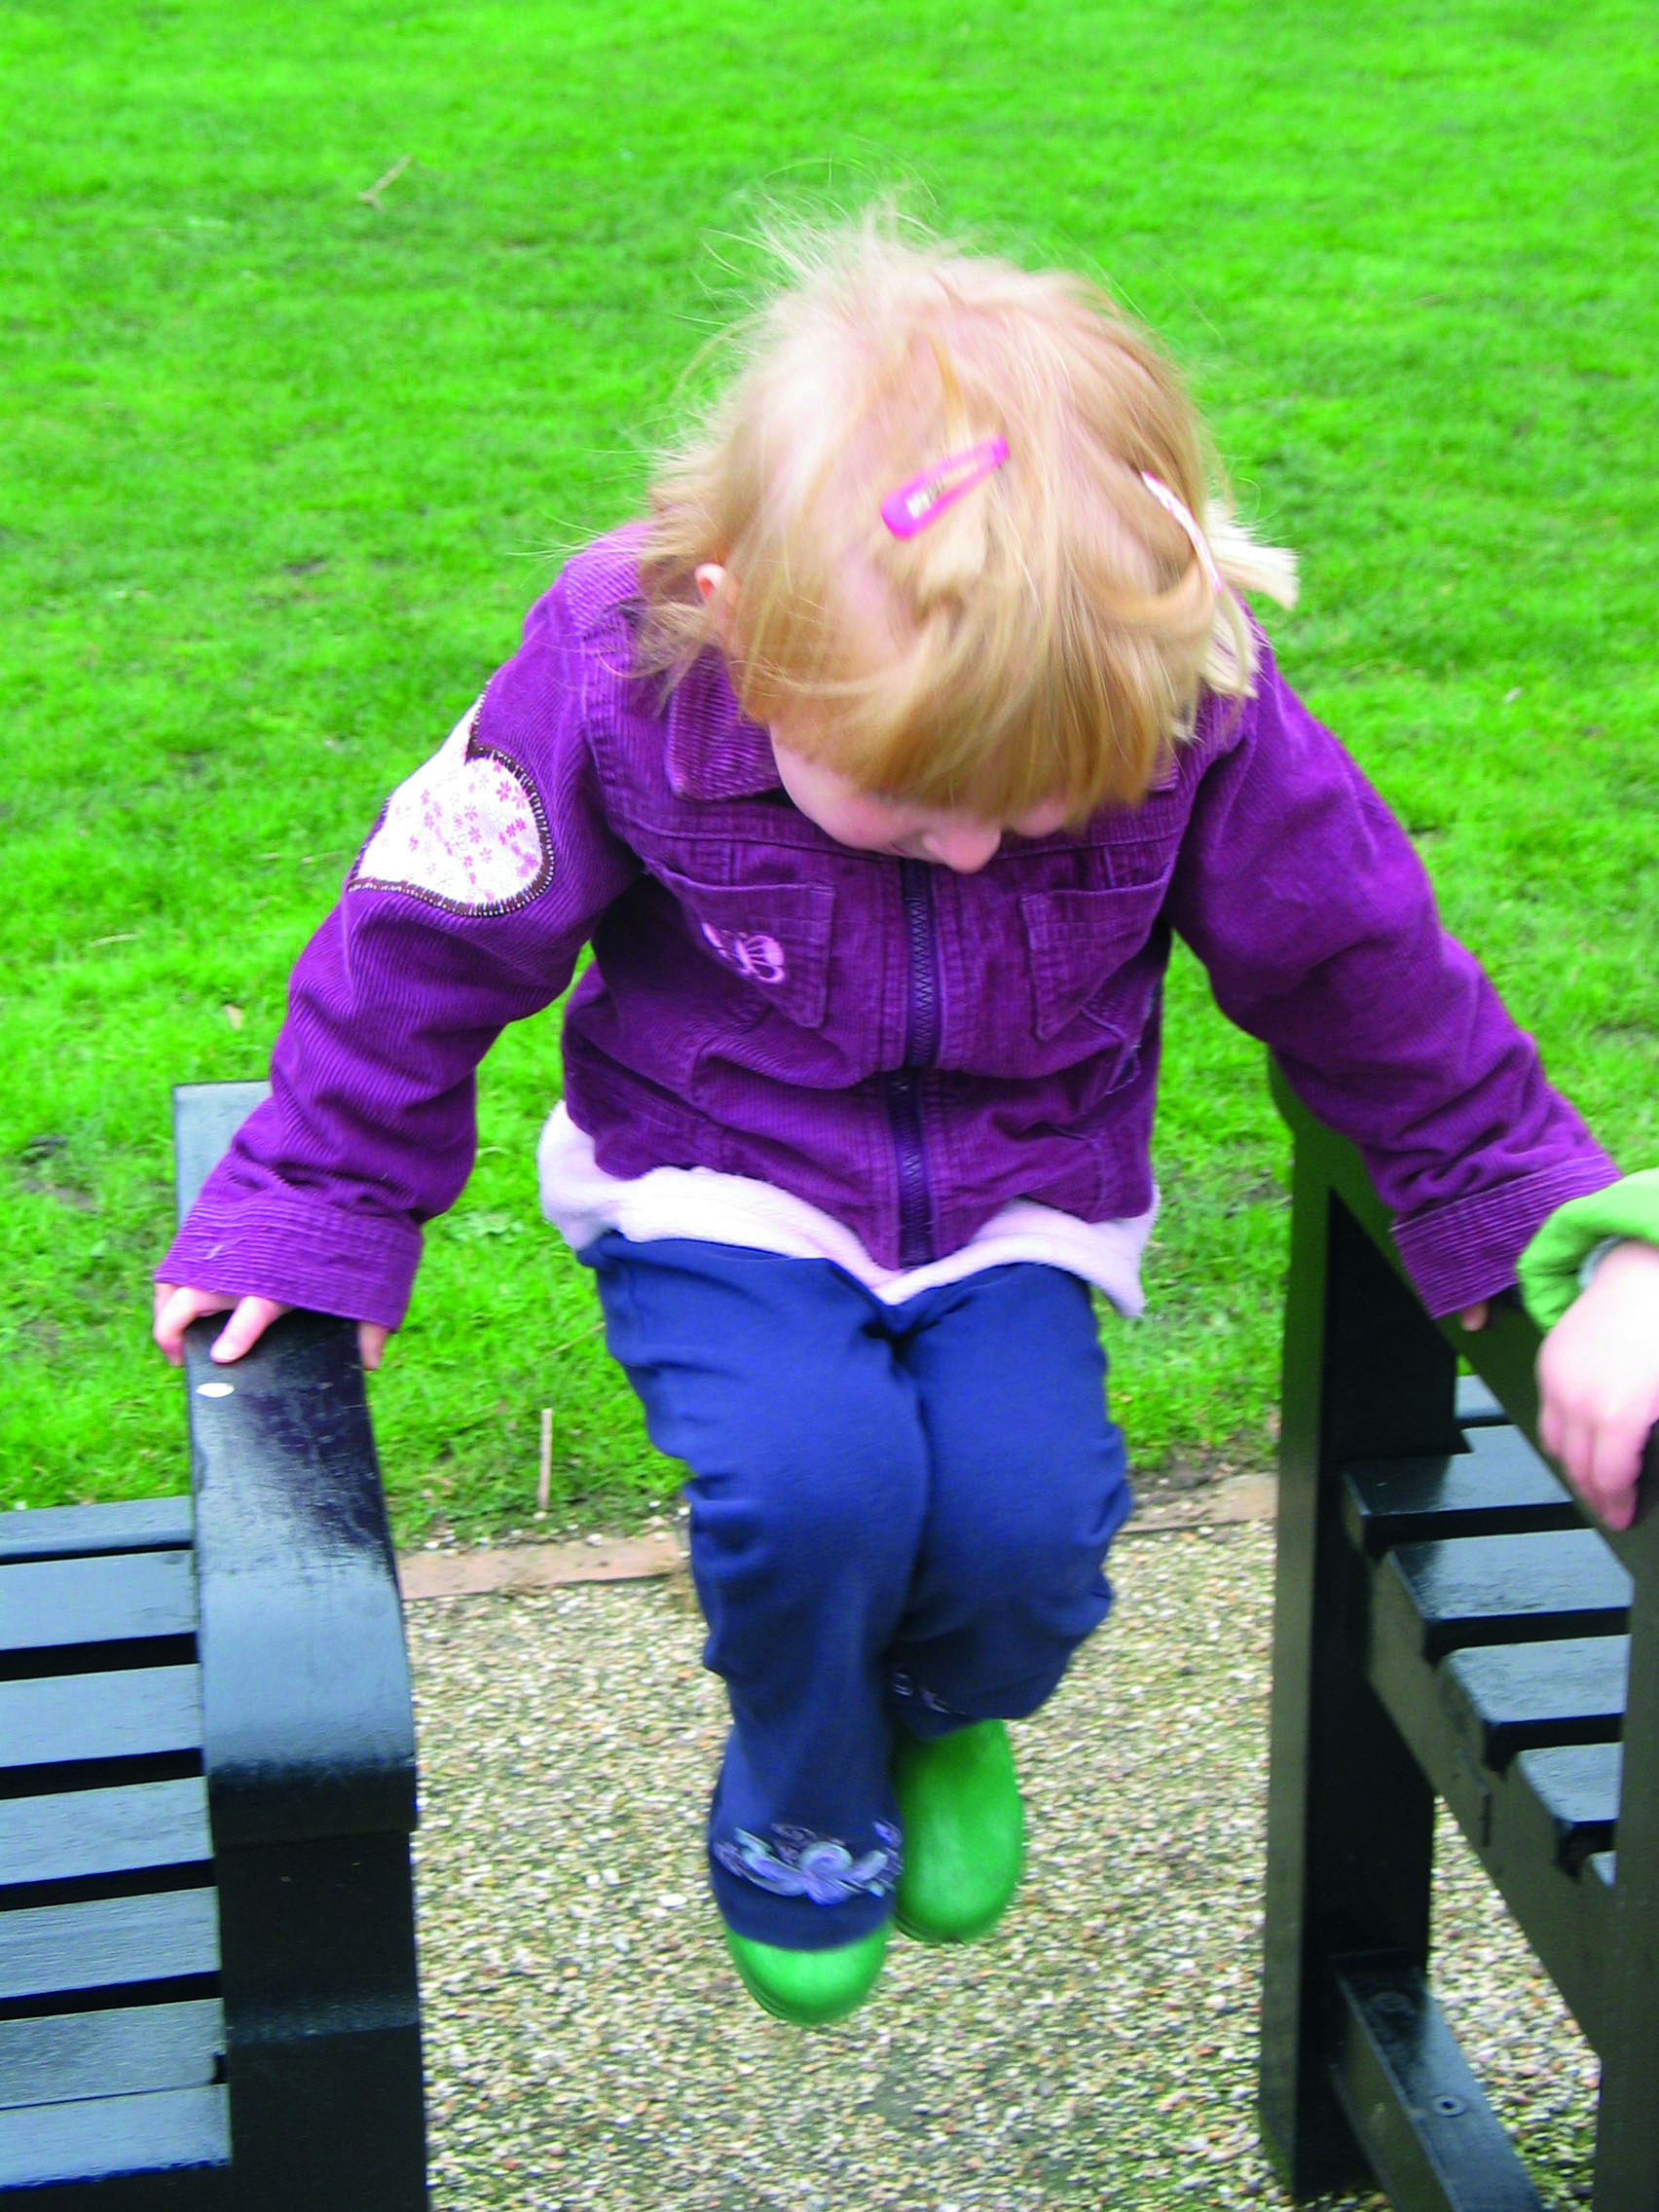
- Simple group warm-ups include: two-footed jumps; alternate foot hops; star jumps; hamstring stretches; body twists; crouch jumps (the second half of a ‘burpee’); side bends; neck stretches and shoulder rolls; high knee lifts and bottom kicks; horizontal and vertical arm circles. There are many, many more ideas to find online, but just choose four or five for each warm-up session outdoors, and repeat each one five times. Once children are familiar with the movements, you could choose your own names for them and let them choose which ones to use each time.
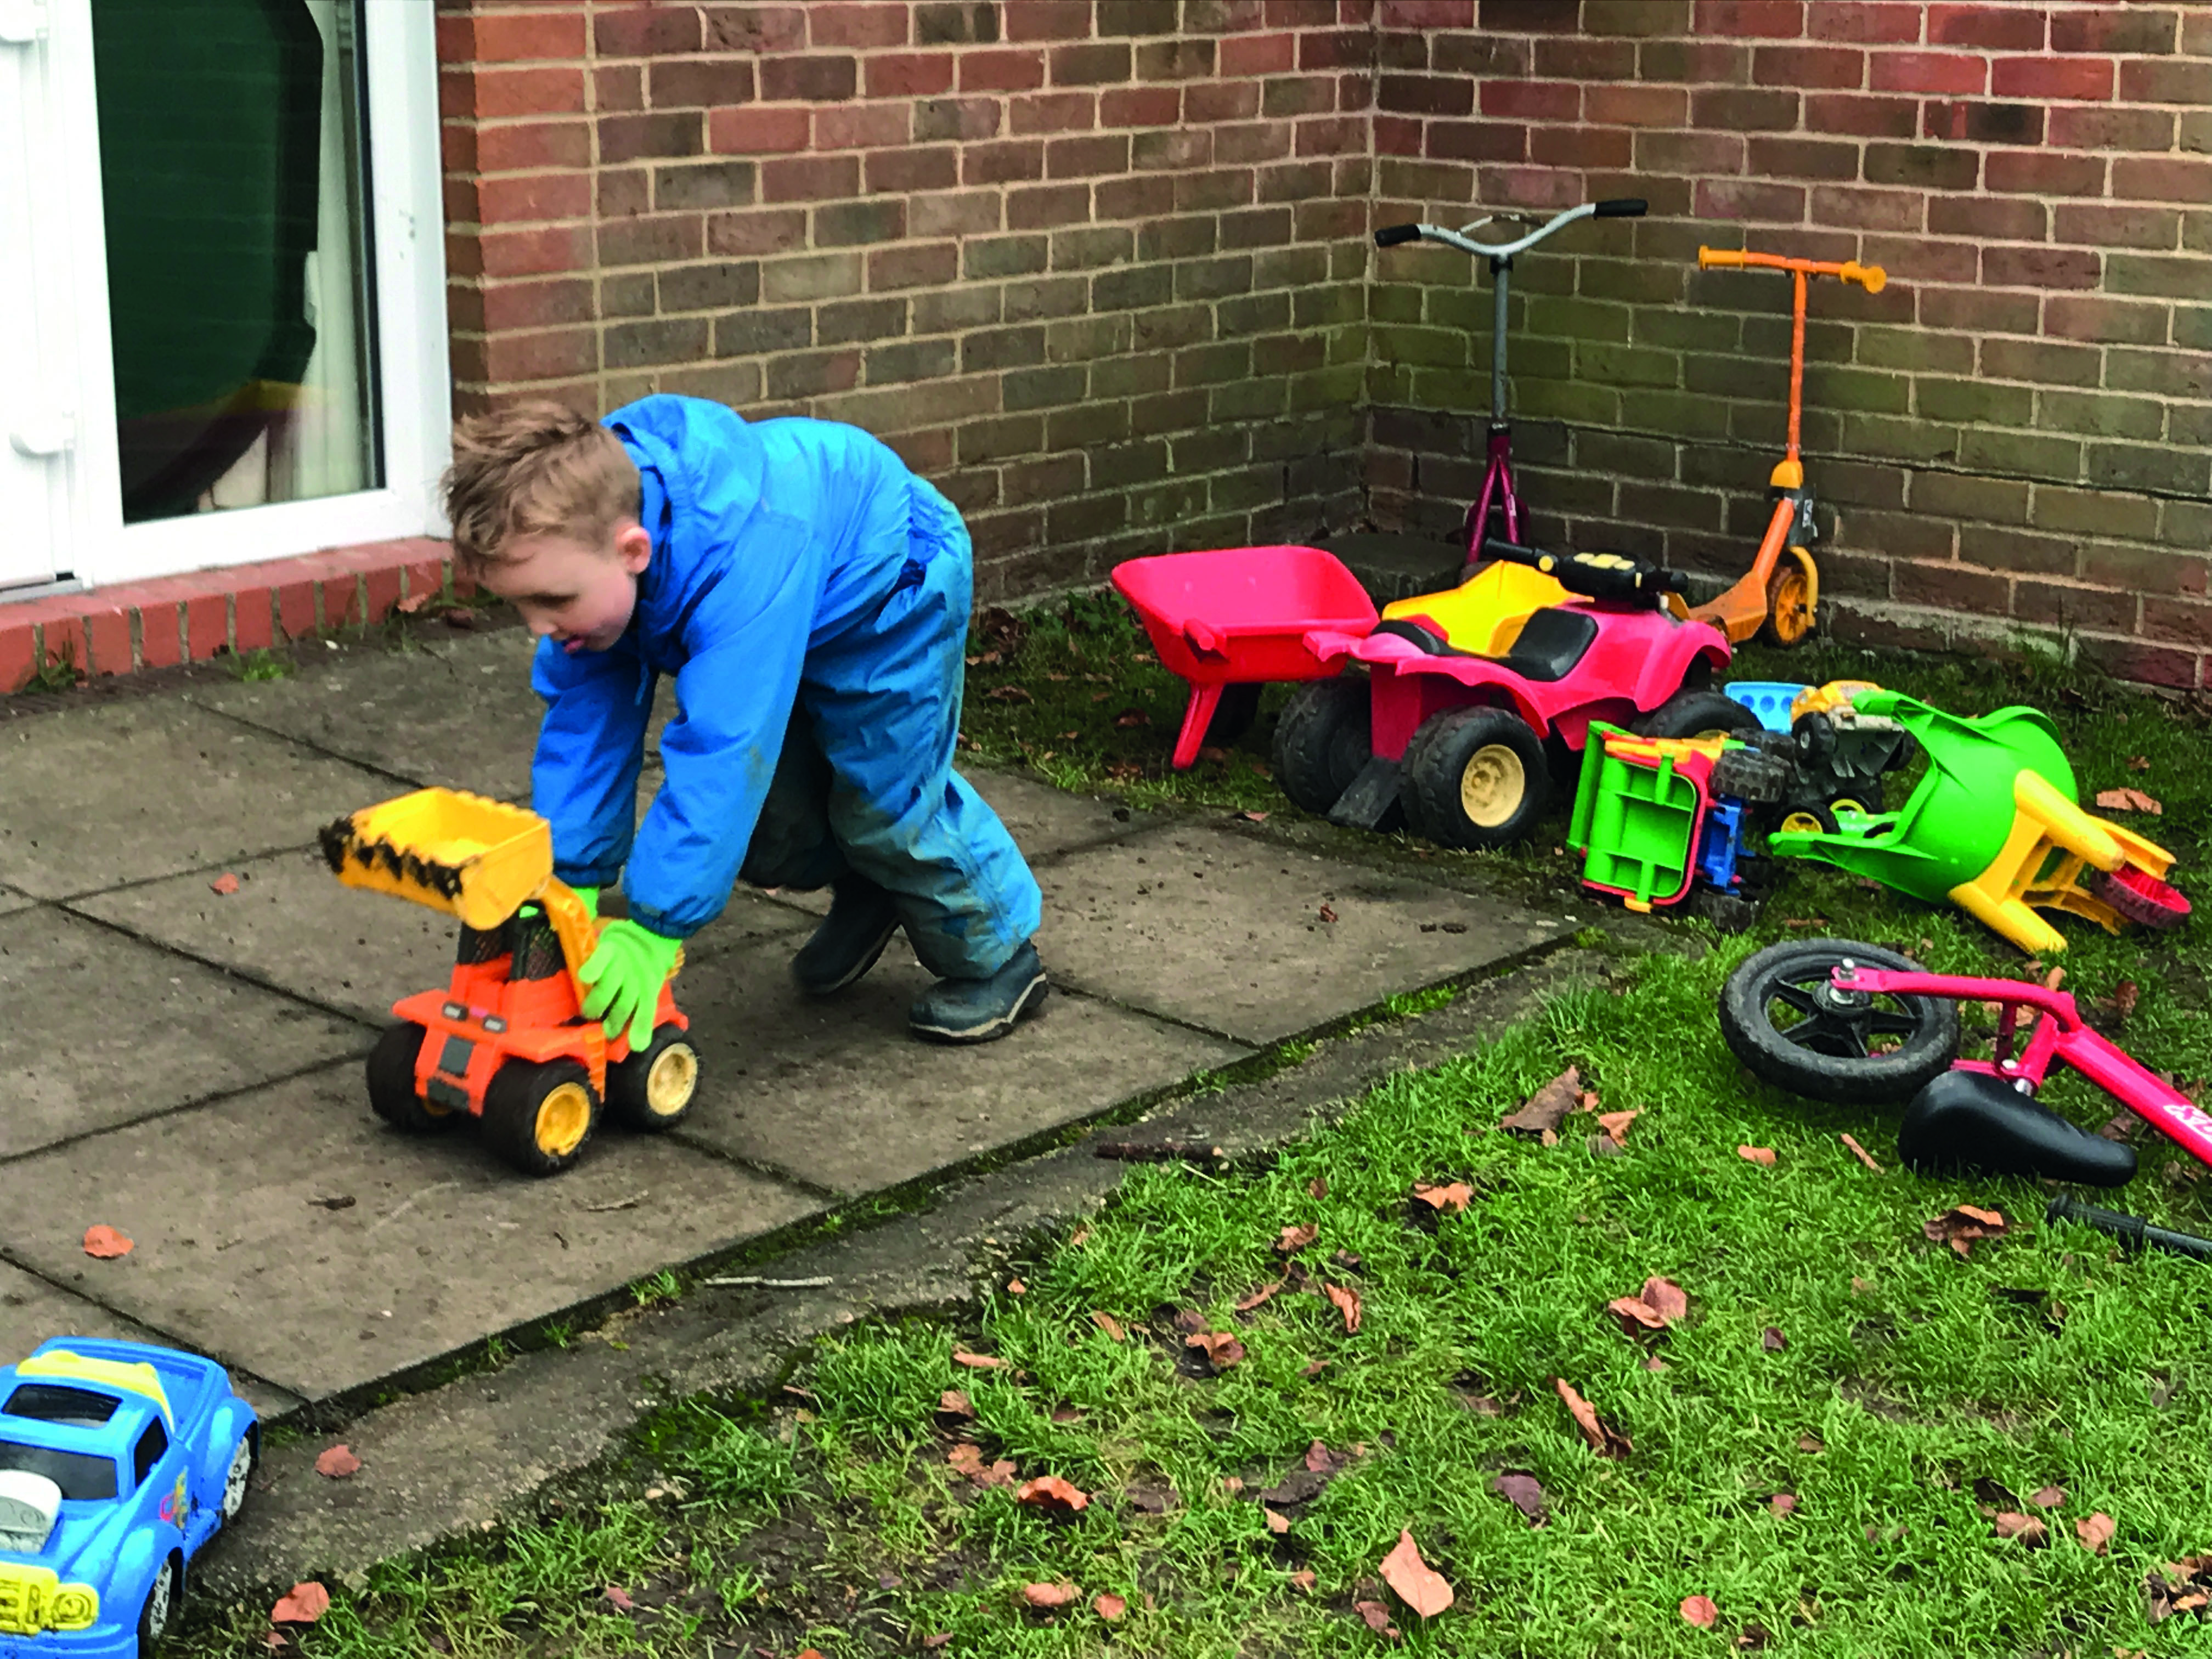
- Some children won’t enjoy shared warm-ups like this ( so ideas for engaging these children include: lifting and carrying resources from their storage to the place they will be used; filling bird feeders or pouring water into bird baths; sweeping leaves; uncovering a sandpit; opening curtains in a playhouse; doing risk assessments on equipment (e.g. tugging rope swings to make sure they are sound; walking along balance beams to check they are stable).
Check out Julie Mountain’s training videos, part of NW’s EYFS Essentials series: https://www.nurseryworld.co.uk/eyfs-essentials
planning ahead…
 Add February nature notes to your Yearly Planner (see January’s calendar for details) and look ahead to March, discussing what children might expect to see outdoors at the beginning of spring.
- Spring is the season of renewal and growth. Ask parents and carers to send in photographs of the children as babies and toddlers, so you can initiate discussions about the children’s own birth and growth as you examine new shoots, leaves and buds over the coming weeks.
- Easter celebrations will be up on you before you know it: could you plan a special celebration outdoors? Start thinking about how you could make a physically challenging Easter egg hunt or perhaps show off outdoors with a flower festival – inviting parents so they can see for themselves how much their children gain from outdoor learning and play.


